The walls graphics
I downloaded the original graphics from this site - I took the Amiga v3.6 ones.
You can find the graphics of the floor, the ceiling and the walls in "game\data\gfx\3DView".
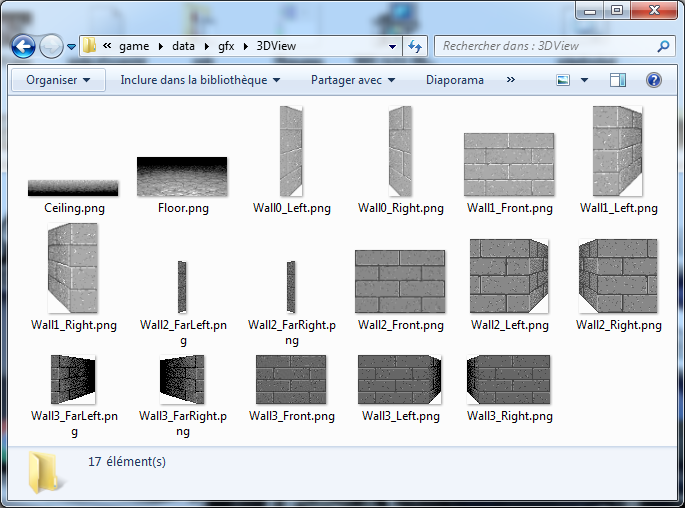
I saved them in PNG because it is a lossless format, so it doesn't modify the graphics like JPEG, and it has transparency.
The original graphics did not really have transparency but they were palletised and one color of the palette was considered as transparent.
Thoses walls seem a little bit strange. There are short or long walls, facing walls, side walls or blocks that contains both a facing and a side wall.
To understand how it works we need to place them where they should appear on the screen.
Open the file "wall_pos.xcf" in Gimp to see where they should be. You can zoom the image to 200% or 400% to have a better view.
Now take a look at the layers window.
At the bottom, you can see screenshots of the game that I found on internet. I used them as a reference to find where to place the walls.
You can make one of them "visible" to use as a background if you want but we don't really need them.
Just above the screenshots, you can see the floor and the ceiling layers.
All the layers above are the walls layers.
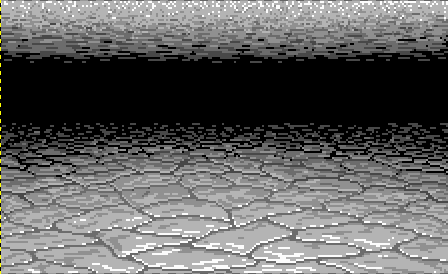
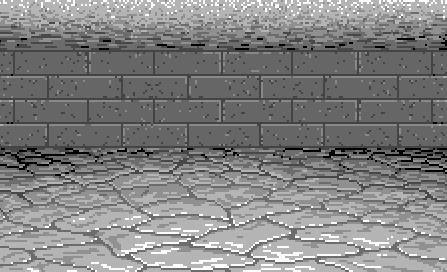
Now hide all the walls layers by clicking on the smalls eyes icons next to each of them.
You should now only see the floor and the ceiling:
Now we will set the walls visible again, one at a time from the bottom to the top. So we start with "Wall3_FarLeft", and we will successively see:

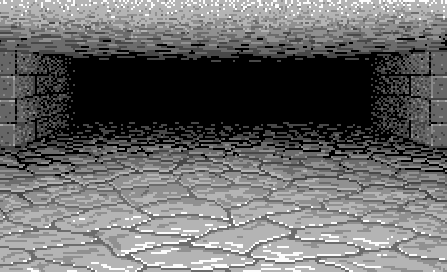
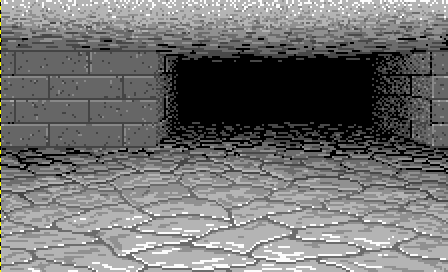
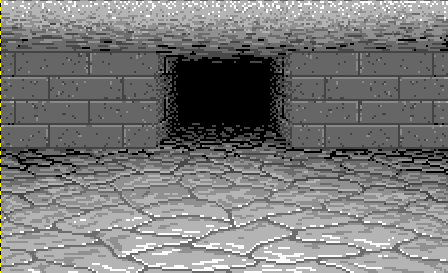
A line of walls appears in front of us from both sides. And at the end we get one big "facing" wall.
But why during the process side walls are drawn with facing ones?
In fact that shows us that contrary to the representation we choosed for the map, the original game used a tile-based representation.
Imagine that every tile of the map can be either "empty" - with no walls - or "filled" - surrounded by walls.
What we see above. Is that we start with an "empty" map, and at each step we draw a "filled" tile.
Precisely we see the "outer" side of the walls that surrounds each "filled" tile.
Remember that we choosed a "wall-based" representation and that we stored the "inner" walls of each tile...
But we will see in a future episode that it won't be very difficult to adapt the graphs to our representation.
Order is important
and the center wall at the end.
In effect, when you look above, every new wall hides a side wall that was drawn previously.
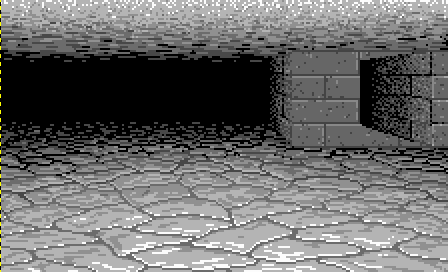
If you don't follow this order, you will have side walls appearing above facing walls - you can simulate this by changing the order
of the layers, and you would get something like this:
If you continue to make visible the other walls from the bottom to the top, you will see walls appearing nearer and nearer.
That's the second important order: draw the farthest walls first then finish with the nearest ones.
Obviously it is easy to understand that the far walls would be hidden if we draw a nearer wall.
In computer graphics it's called the painter's algorithm, because we work as a painter who paints the background landscape first,
then the foreground subjects.
The game project
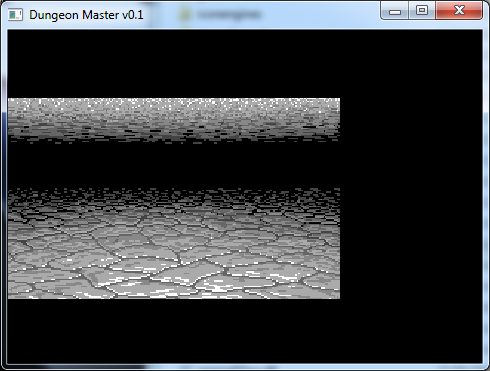
After all these explanations, I will quickly describe the Qt project for the game.
I choosed to run the game with Qt for convenience, even though it is not really the best engine for games.
If we were creating a modern game with smooth animations that had to run at least at 60 frames per seconds, I would probably have used an OpenGL or a DirectX project. But this would have added more libraries or tools. The original Dungeon Master animations are very basic, and far from 60 FPS - they're more likely between 10 and 15 FPS. So even if Qt's basic timing with QtTimers is not very accurate, it will be sufficient - and as an exercise, one could try to run the game inside an OpenGL widget of Qt. By the way, it is also more convenient to have the possibility to open both the editor and the game projects side by side in QtCreator. So for the game I created a "game" folder with a structure very similar to the editor:
- A "sources" folder with the ".cpp" and ".h" files.
- A "qml" folder with the qml files.
- And a "data" folder with runtime loaded datas.