Le code dans cet article a été écrit avec Code::Blocks et la SDL 2.
Vous pouvez trouver
ici un guide pour installer ces logiciels.
Bien qu'il soit basé sur la SDL, je n'utilise pas ses fonctions directement. J'ai écrit une petite bibliothèque
avec quelques fonctions basiques pour faciliter la compréhension et la portabilité dans un autre langage.
Vous pouvez en apprendre plus sur cette bibliothèque
ici.
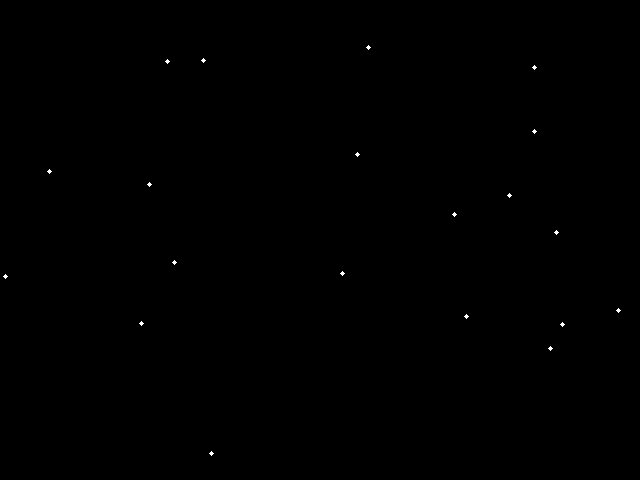
Prenons plusieurs points à l'écran qu'on va appeler "germes".
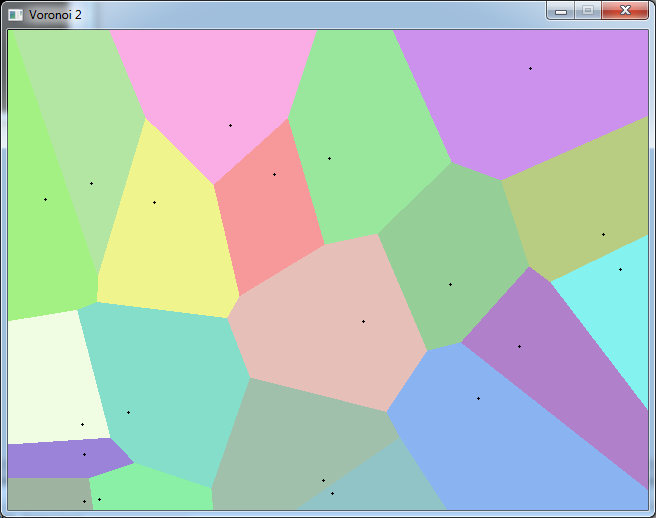
Le diagramme de Voronoi ressemble à ça:
Il divise l'écran en cellules.
Chaque cellule contient un seul "germe", et chaque point dans cette cellule est plus proche de ce germe que de tous
les autres.
Ce diagramme est utilisé dans différents domaines. Par exemple:
- Il peut être utilisé en I.A. pour trouver un chemin vers le germe le plus proche.
- Il peut représenter la structure cristalline d'un matériau.
- En téléphonie, quand votre téléphone portable est connecté à l'antenne la plus proche, vous êtes à
l'intérieur de sa cellule.
- En imagerie informatique il peut être utilisé pour dessiner les taches d'une girafe.
Il y a de nombreaux algorithmes pour construire ce diagramme. Ici je vais utiliser l'un des plus visuels et des
plus simples à calculer.
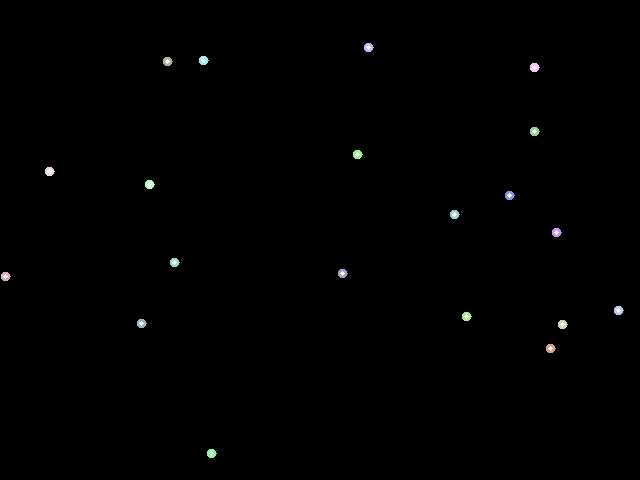
L'idée est de dessiner des cercles autour de chacun de nos germes qui vont grossir tous au même rythme jusqu'à ce
qu'ils touchent un autre cercle.
Ca veut dire que quand on va vouloir dessiner un pixel de notre cercle, on le fera seulement si la couleur courante
du pixel est noire. si ce n'est pas le cas, c'est qu'on a rencontré un autre cercle.
Mais d'abord on va initialiser nos germes et choisir une couleur pour chacun d'entre eux.
		#define SCREEN_WIDTH    640
		#define SCREEN_HEIGHT   480
		#define NB_POINTS 20

		struct SPoint
		{
			int     x, y;
			Color   col;
		};

		int main(int argc, char* argv[])
		{
			SPoint  points[NB_POINTS];
			float radius = 1.0;

			// init the window
			gfx.init("Voronoi", SCREEN_WIDTH, SCREEN_HEIGHT);
			gfx.init2D();
			gfx.clearScreen(Color(0, 0, 0, SDL_ALPHA_OPAQUE));

			// init the points
			srand(time(NULL));

			for (int i = 0; i < NB_POINTS; ++i)
			{
				points[i].x = rand() % SCREEN_WIDTH;
				points[i].y = rand() % SCREEN_HEIGHT;
				points[i].col = Color((rand() % 128) + 128,
				                      (rand() % 128) + 128,
				                      (rand() % 128) + 128);
			}
Ensuite, pour chaque point on va dessiner le cercle. Si vous ne comprenez pas les formules utilisées pour tracer le
cercle, elles sont expliquées
ici.
			while (sys.isQuitRequested() == false)
			{
				sys.processEvents();

				// drawing
				for (int i = 0; i < NB_POINTS; ++i)
				{
					// draw circles
					for (float a = 0.0; a < 2.0 * M_PI; a += M_PI / 1500.0)
					{
						int x = points[i].x + (int)(radius * cos(a));
						int y = points[i].y + (int)(radius * sin(a));

						// if pixel is not out of screen
						if (x >= 0 && x < SCREEN_WIDTH &&
						    y >= 0 && y < SCREEN_HEIGHT)
						{
							// if pixel is empty
							if (gfx.getPixel(x, y).argb == Color(0, 0, 0, SDL_ALPHA_OPAQUE).argb)
								gfx.setPixel(x, y, points[i].col);
						}
					}
Enfin on va dessiner les points au dessus des cercles, augmenter le rayon et reboucler.
					// draw points
					gfx.setPixel(points[i].x    , points[i].y    , Color(1, 1, 1, SDL_ALPHA_OPAQUE));
					gfx.setPixel(points[i].x    , points[i].y - 1, Color(1, 1, 1, SDL_ALPHA_OPAQUE));
					gfx.setPixel(points[i].x    , points[i].y + 1, Color(1, 1, 1, SDL_ALPHA_OPAQUE));
					gfx.setPixel(points[i].x - 1, points[i].y    , Color(1, 1, 1, SDL_ALPHA_OPAQUE));
					gfx.setPixel(points[i].x + 1, points[i].y    , Color(1, 1, 1, SDL_ALPHA_OPAQUE));
				}

				// increase radius
				radius += 1.0;

				gfx.render();
				sys.wait(50);
			}

		Télécharger le code source
		Télécharger l'exécutable pour Windows
Le résultat ressemble à l'image qu'on a vu auparavant.
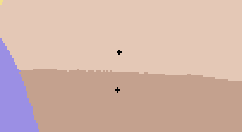
Mais il n'est pas toujours parfait si 2 points sont très proches:
Ca vient de petites erreurs d'arrondi dans le dessin du cercle, et du fait que l'on ne dessine pas tous les cercles
en même temps, mais l'un après l'autre.
Réfléchir d'une autre façon
Pour corriger ça, on va faire quelque chose qu'on fera souvent à l'avenir: on va retourner le problème.
Réfléchissons au résultat.
Qu'est-ce qu'on veut obtenir ? La couleur de chaque pixel à l'écran.
Alors on va commencer par boucler sur tous les pixels:
        for (int y = 0; y < SCREEN_HEIGHT; ++y)
            for (int x = 0; x < SCREEN_WIDTH; ++x)
            {
Maintenant, si on suit le définition qu'on a donnée au début, ce pixel est à l'intérieur de la cellule d'un germe.
Tous les points d'une cellule sont plus proches de ce germe que de tous les autres.
Donc si on trouve le germe le plus proche de ce pixel, on saura qu'il est à l'intérieur de sa cellule et qu'il
devrait prendre sa couleur.
Alors on va boucler sur chaque point, calculer sa distance à notre pixel, et garder le plus proche.
                int     nearest = 0;
                Sint32  nearestDist = 1000000000;

                for (int i = 0; i < NB_POINTS; ++i)
                {
                    Sint32  dx = points[i].x - x;
                    Sint32  dy = points[i].y - y;
                    Sint32  dist = dx * dx + dy * dy;

                    if (dist < nearestDist)
                    {
                        nearest = i;
                        nearestDist = dist;
                    }
                }
Maintenant il suffit de dessiner le pixel avec la couleur du point le plus proche.
Avec cette méthode on pourrait dessiner tous les pixels de l'écran en une seule passe.
Mais comme je veux garder l'effet d'animation des cercles qui grossissent, je ne vais dessiner le pixel que si la
distance est inférieure au rayon courant.
                if (sqrt(nearestDist) <= radius)
                    gfx.setPixel(x, y, points[nearest].col);

		Télécharger le code source
		Télécharger l'exécutable pour Windows
Avec ce programme, maintenant les lignes sont parfaitement droites.


