The code in this article was written using Code::Blocks and SDL 2.
You can read
here a guide to install this sofware.
Although it is based on SDL, I don't use its functions directly. I have written a small library with a few basic
functions to ease the understanding and the portability to another language.
You can read more about this lib
here.
This article uses the line function we added in
the Bresenham's line algorithm.
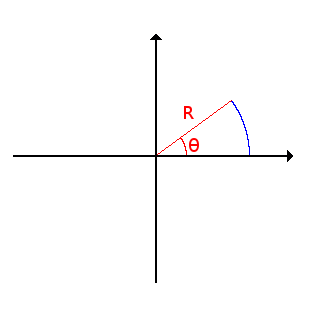
When you draw a circle at school, you take your compass, you open it to the wanted radius, place the needle at the
center, then turn the compass to draw the circle.
We can imagine that the radius we choose is an invisible segment of a given length.
We put one end of the segment on the center and turn the other end with an angle going from 0 to 360 degrees.
To simplify let's say that the center is the origin of the plane. This image shows the beginning of the drawing.
The R and θ are called the polar coordinates of the point.
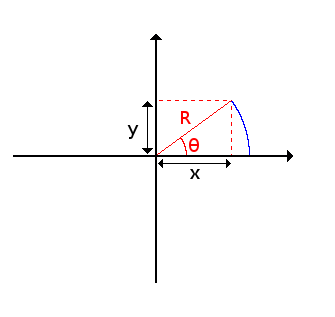
But if we want to draw the circle on our screen we will need the cartesian coordinates of its points - x and y.
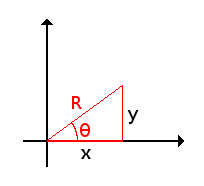
If we look closer we can see a right-angled triangle.
The basic trigonometry formulas gives us the values of sine and cosine:
		cos θ = x / R
		sin θ = y / R
So we can easily retrieve our x and y:
		x = R * cos θ
		y = R * sin θ
Now we made a simplification by saying that the center of our circle is at the origin.
If we want to draw our circle around another center (x
C, y
C) we just have to add its
coordinates:
		x = xC + R * cos θ
		y = yC + R * sin θ
Then if we vary the angle from 0 to 360 degrees we should get all the points of our circle.
But if we write a program in C, the standard cos() and sin() functions don't take an angle in degrees but in
radians.
So we will use a macro to convert degrees to radians:
#define DEG_TO_RAD(_x) ((_x) * M_PI / 180.0)
Now we can try do draw a circle:
		#include <stdio.h>
		#include <stdlib.h>
		#include <math.h>
		#include "main.h"
		#include "Graphics.h"
		#include "System.h"

		#define SCREEN_WIDTH    640
		#define SCREEN_HEIGHT   480
		#define DEG_TO_RAD(_x)  ((_x) * M_PI / 180.0)

		int main(int argc, char* argv[])
		{
			// init the window
			gfx.init("Circle", SCREEN_WIDTH, SCREEN_HEIGHT);
			gfx.init2D();
			gfx.clearScreen(Color(0, 0, 0, SDL_ALPHA_OPAQUE));

			int centerX = SCREEN_WIDTH / 2;
			int centerY = SCREEN_HEIGHT / 2;
			int radius = 200;

			for (int i = 0; i < 360; i++)
			{
				float angle = DEG_TO_RAD(i);
				int x = centerX + radius * cos(angle);
				int y = centerY + radius * sin(angle);

				gfx.setPixel(x, y, Color(255, 255, 255));

				gfx.render();
				sys.wait(20);
			}

			// wait until we quit
			while (sys.isQuitRequested() == false)
			{
				gfx.render();
				sys.wait(20);
				sys.processEvents();
			}

			gfx.quit();

			return EXIT_SUCCESS;
		}

		Download source code
		Download executable for Windows
I added a small delay between each point.
You should see the circle appear in a clockwise direction because the y increases downwards on the screen.
But there are missing dots in the circle.
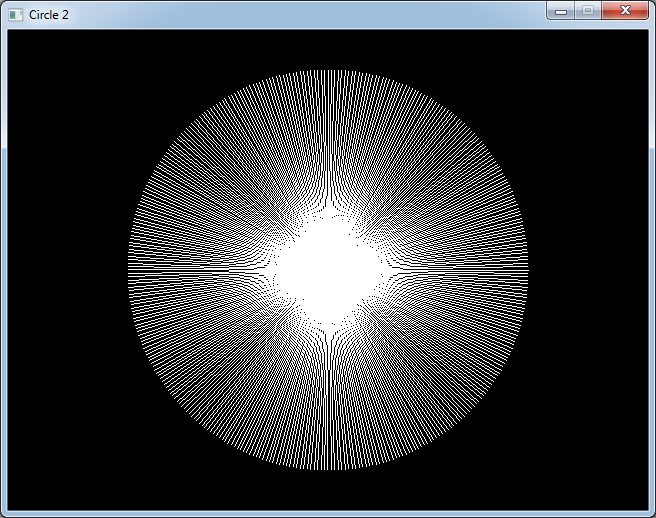
It's even more visible if we try to fill this circle by drawing lines from its center by replacing
gfx.setPixel(x, y, Color(255, 255, 255));
with
		gfx.line(centerX, centerY, x, y, Color(255, 255, 255));

		Download source code
		Download executable for Windows
But for now we will stay with unfilled circles.
A way to fix that would be to increase the number of steps we take to go from 0 to 360 degrees by increasing the
angle by in example 0.5 degrees each time.
But we have a simpler method to get a continuous circle even if it's not perfect.
As we have a line drawing function, we will draw lines between the points given by 2 successive values of the
angle.
		for (int i = 0; i < 360; i++)
		{
			float angle0 = DEG_TO_RAD(i);
			int x0 = centerX + radius * cos(angle0);
			int y0 = centerY + radius * sin(angle0);

			float angle1 = DEG_TO_RAD(i + 1);
			int x1 = centerX + radius * cos(angle1);
			int y1 = centerY + radius * sin(angle1);

			gfx.line(x0, y0, x1, y1, Color(255, 255, 255));

			gfx.render();
			sys.wait(20);
			sys.processEvents();
		}

		Download source code
		Download executable for Windows
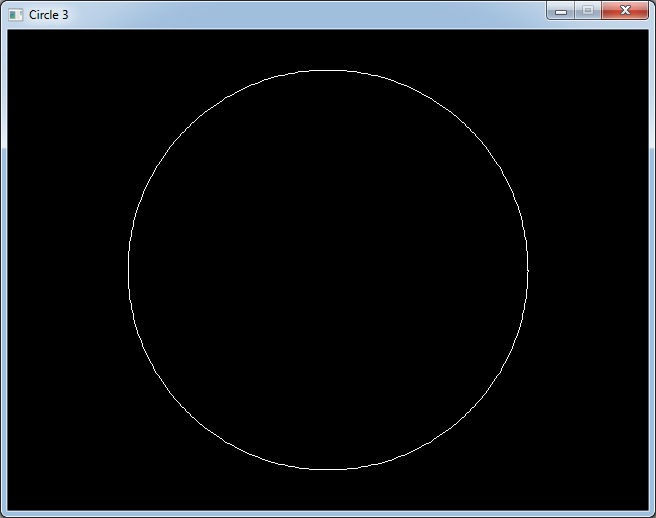
And we get a nicer circle.
Now we will try to change a few parameters of the equations we found to see what happens.
As a reminder we had:
		x = xC + R * cos θ
		y = yC + R * sin θ
Now changing x
C and y
C will change the center of the circle.
There is nothing very interesting to do with that.
But what do we get if we put a different radius for x and y ?
		int centerX = SCREEN_WIDTH / 2;
		int centerY = SCREEN_HEIGHT / 2;
		int radiusX = 200;
		int radiusY = 100;

		for (int i = 0; i < 360; i++)
		{
			float angle0 = DEG_TO_RAD(i);
			int x0 = centerX + radiusX * cos(angle0);
			int y0 = centerY + radiusY * sin(angle0);

			float angle1 = DEG_TO_RAD(i + 1);
			int x1 = centerX + radiusX * cos(angle1);
			int y1 = centerY + radiusY * sin(angle1);

			gfx.line(x0, y0, x1, y1, Color(255, 255, 255));

			gfx.render();
			sys.wait(20);
		}

		Download source code
		Download executable for Windows
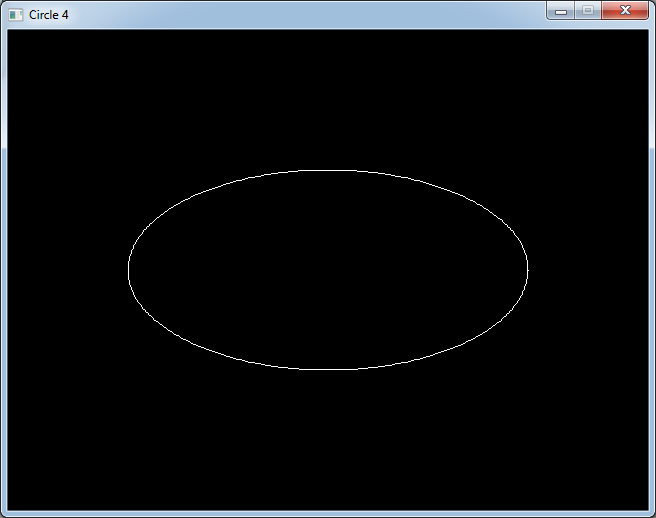
We get an ellipse.
That was easy to predict because if one of the radius is not the same as the other we can think that we multiplied
it by a constant, so we have "stretched" our original circle along one axis.
Now what happens if we add a value to the angle θ ?
If we add the same value to both axes, we will still have a circle, but the point where it starts to be drawn will
be different.
You can try it by yourself.
But if we add a value to only one of the axes we will get a different result.
		int centerX = SCREEN_WIDTH / 2;
		int centerY = SCREEN_HEIGHT / 2;
		int radius = 200;

		float angleAdd = DEG_TO_RAD(20);

		for (int i = 0; i < 360; i++)
		{
			float angle0 = DEG_TO_RAD(i);
			int x0 = centerX + radius * cos(angle0 + angleAdd);
			int y0 = centerY + radius * sin(angle0);

			float angle1 = DEG_TO_RAD(i + 1);
			int x1 = centerX + radius * cos(angle1 + angleAdd);
			int y1 = centerY + radius * sin(angle1);

			gfx.line(x0, y0, x1, y1, Color(255, 255, 255));

			gfx.render();
			sys.wait(20);
		}

		Download source code
		Download executable for Windows
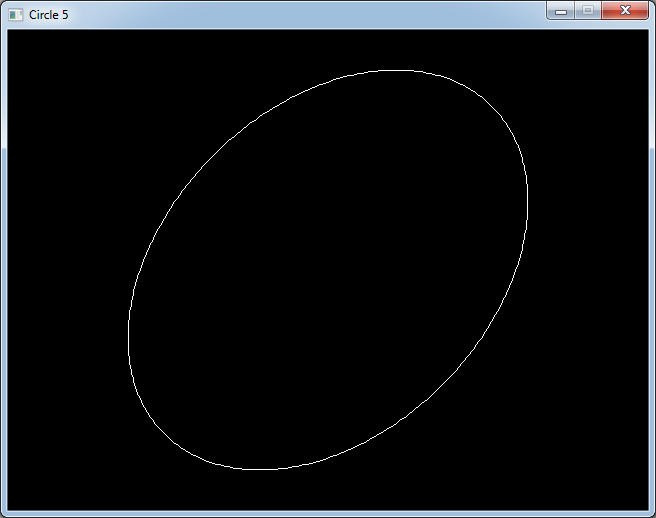
Now we have a tilted ellipse.
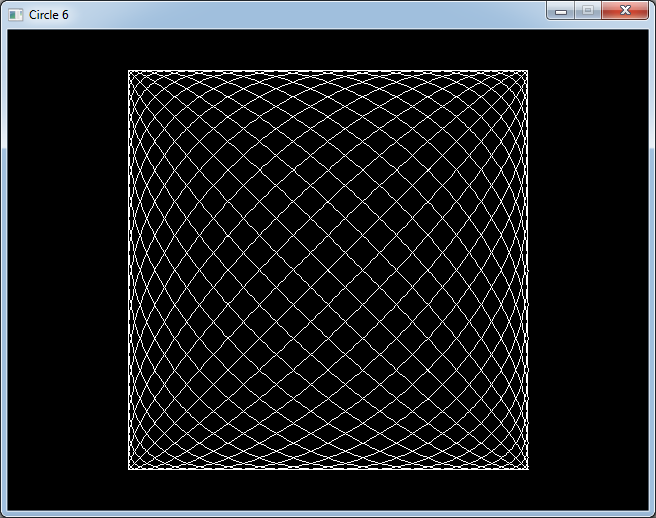
If we vary the value we add between -90 and 90 degrees we get a nice image that looks nearly 3D.
		for (int i = 0; i < 360; i++)
		{
			for (int j = -90; j <= 90; j += 10)
			{
				float angleAdd = DEG_TO_RAD(j);

				float angle0 = DEG_TO_RAD(i);
				int x0 = centerX + radius * cos(angle0 + angleAdd);
				int y0 = centerY + radius * sin(angle0);

				float angle1 = DEG_TO_RAD(i + 1);
				int x1 = centerX + radius * cos(angle1 + angleAdd);
				int y1 = centerY + radius * sin(angle1);

				gfx.line(x0, y0, x1, y1, Color(255, 255, 255));
			}

			gfx.render();
			sys.wait(20);
		}

		Download source code
		Download executable for Windows
We will see another way to change these formulas in a future article.